
How to clean mold out of a cup—it’s not exactly something you think about every day, but when you see those gross black, green, or white spots creeping inside your favorite mug, it becomes a top priority. Mold not only appears unclean; it can cause illness through allergic responses, and respiratory concerns among others. This is why speed is of the essence when you need to manage it. The sooner you remove it from your rim, the better chances are that your next drink will be safe.
For this reason, we’ll walk through an easy-to-follow guide with steps aimed at tackling this form of dirt while at the same time keeping our cups spotless.
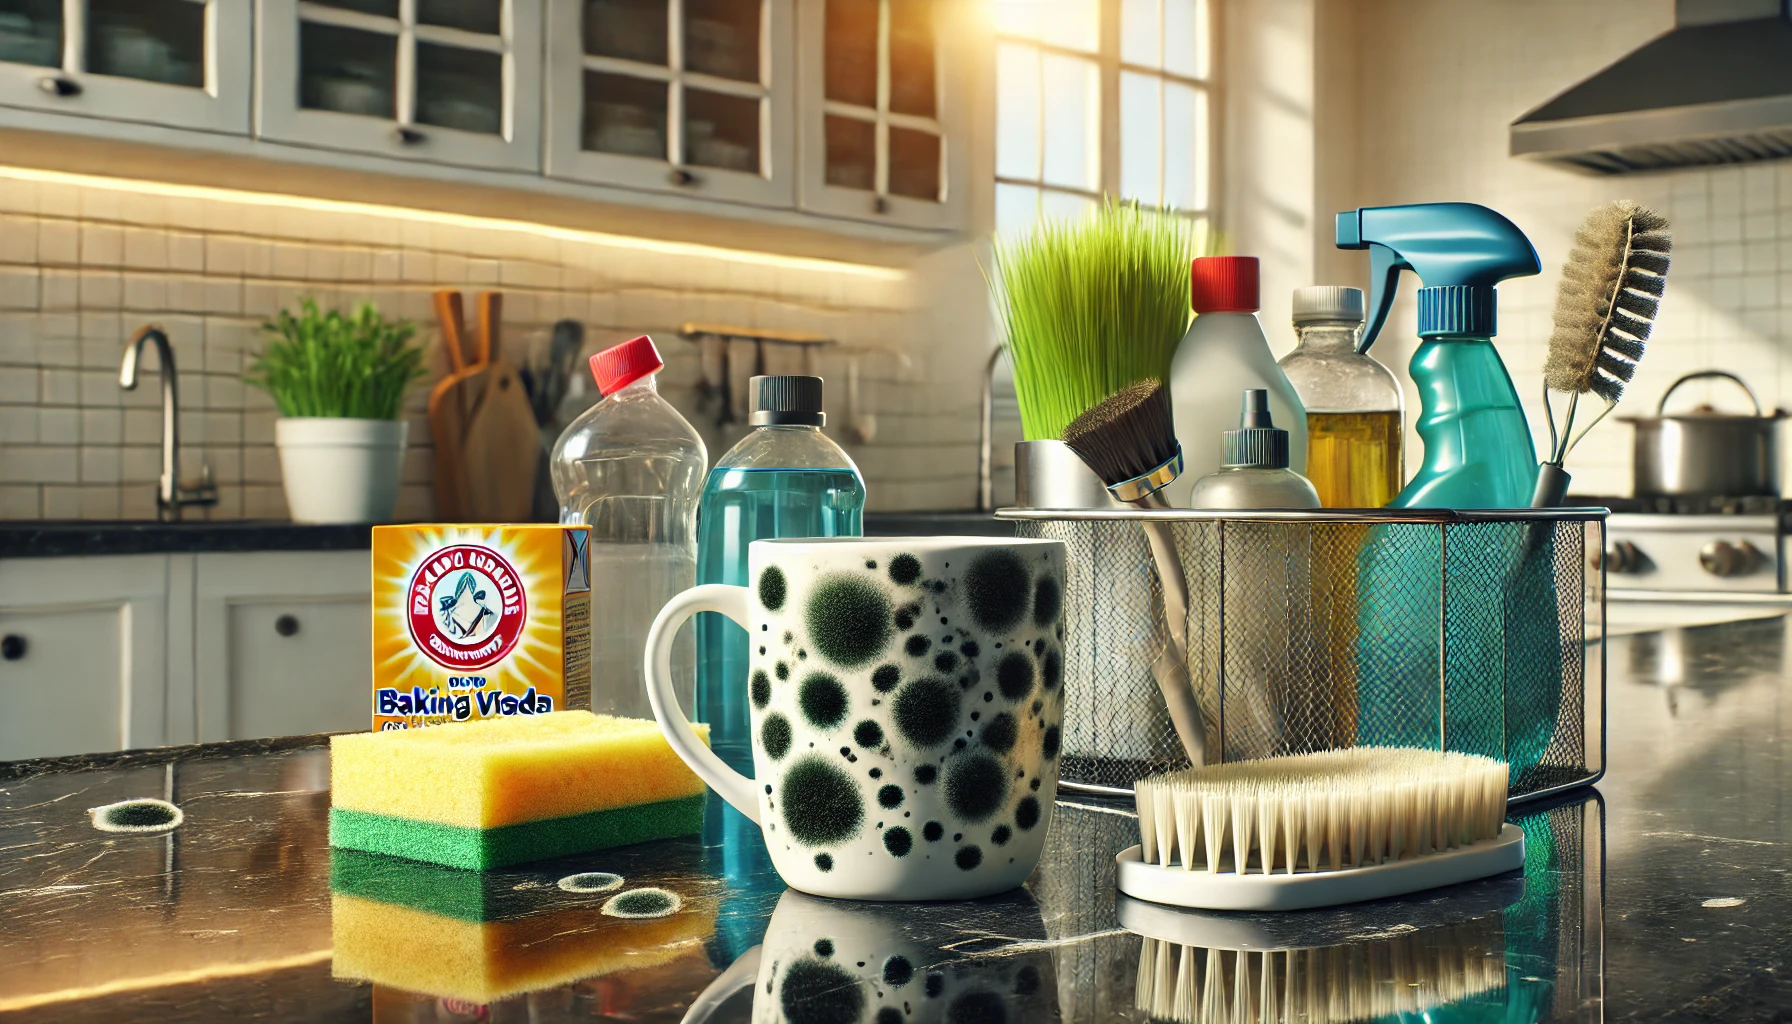
Gather Your Supplies
Before diving into the cleaning process, make sure you have everything you need:
- Dish soap
- White vinegar
- Baking soda
- Scrub brush or sponge
- Toothbrush (for tough spots)
- Hot water
- Gloves (optional)
Now that you’re set, let’s move on to cleaning that mold.
Step 1: Safety First—Always Protect Yourself

Mold by itself is not only disgusting but can also be dangerous. Care for your own protection first before commencing any work. Mould spores irritate the skin and the eyes as well as the upper respiratory tract therefore gloves are recommended. In case of extreme infestation, a mask may also be advisable, especially for allergy sufferers. You will also be sure to do your task in an open space preferably to avoid hurting yourself. Open a window or a door while cleaning to have fresh air come in.
Step 2: Rinse Off Loose Mold
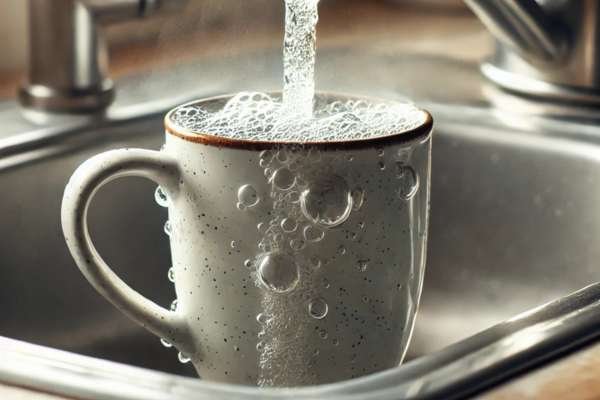
First of all, fill the mug with boiling water. Doing so is intended to flush out any dust and if there are any loose Mould spores, it will make the cleaning process more effective. When the mold appears to be too tough to get rid of, run the cup under the tap water for a few minutes. It’s an easy but important detail that will make scrubbing more comfortable.
Step 3: Use a Cleaning Agent
After washing the cup, sprinkle a considerable quantity of baking soda into its inner surface. Since baking soda particles are harmful to mugs it cuts down on, therefore, bad smells caused by molds. As such, these agents can still eliminate other odors as fungicides do but without affecting them in this case. So there are remnants of fungi on its inner sides and that is why you should sprinkle more of this powder on it.
Step 4: Activate with White Vinegar
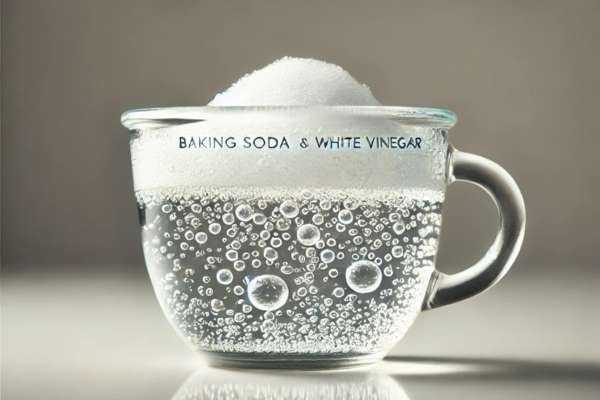
Next, pour in some white vinegar. When baking soda and vinegar meet, they create a fizzy reaction that’s great for loosening mold from surfaces. Let this fizzy concoction sit in the cup for about 15 to 20 minutes. During this time, the bubbling action will work to break down the Mould, making it easier to scrub away. White vinegar’s antifungal properties add an extra layer of cleaning power, killing mold at the root.
Step 5: Scrub Thoroughly
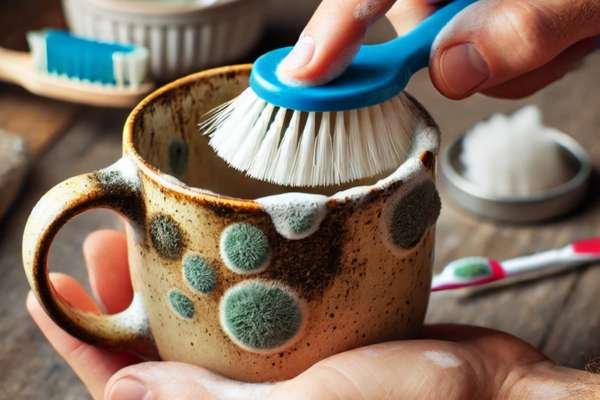
After the vinegar and baking soda have done their job, grab a scrub brush or sponge and get to work. Focus on scrubbing the inside of the mug, especially where the Mould is most visible. If your cup has tight spots or nooks, a toothbrush can be your best friend for reaching those tricky areas. The bristles can help break down mold in hard-to-reach places, giving you a more thorough clean.
Step 6: Rinse Again
Once you’re done scrubbing, rinse the mug thoroughly under hot water. Make sure to wash away all of the baking soda, vinegar, and any lingering mold particles. Hot water not only rinses off the cleaning residue but also helps sanitize the cup.
If, after rinsing, you still see Mould, repeat the scrubbing process with a bit more baking soda and vinegar. Mold can be persistent, but a little extra elbow grease usually does the trick.
Step 7: Sanitize for Good Measure
To ensure your cup is 100% mold-free, consider an extra step for sanitation. Here are two effective methods:
- Hot Water Soak: Fill the mug with hot water and a drop of dish soap. Let it soak for about 10 minutes. This extra soaking helps eliminate any remaining spores or odors.
- Dishwasher Method: If your cup is dishwasher-safe, place it in the dishwasher on a high-temperature cycle. The combination of heat and detergent will ensure a deep clean and kill any last mold traces.
Step 8: Dry Completely
Humidity promotes mold growth; thus, ensure you dry your cup properly. The best option would be to use a clean piece of cloth or let it stay in a ventilated place until it dries off. Just make sure that it is completely dried before storing away. Any moisture left may promote the generation of more Mould as they like it extremely wet.
Prevent Future Mold
Now that your cup is clean, follow these tips to prevent mold from returning:
- Wash cups immediately after use: Don’t leave them sitting with liquid inside, especially beverages like coffee, tea, or milk.
- Store in a dry place: Make sure your cups are stored in a well-ventilated area. Avoid damp cupboards where Mould can thrive.
- Sanitize periodically: Even if you clean regularly, consider running your cups through the dishwasher or using vinegar for a deep clean now and then.
This will help your cups remain Mould-free and safe for everyday use if you adhere to these suggestions.
Cleaning mold out of a cup doesn’t have to be complicated, but it does need to be thorough. With the right steps and a little attention to detail, you can easily banish mold and enjoy your favorite cup again without worry.
Learn how to use a slushy cup to make icy drinks in minutes! Follow this easy step-by-step guide for perfect homemade frozen treats every time.